
When you first think of creating a website or blog, it can seem to be very confusing. Knowing the steps that you need to take to get your website from your mental concept/ brain to the internet may feel like a difficult task that needs a lot of work. Setting a website or blog is quite easy and can be done in less than 15 minutes if you know what to do. Here, we are discussing the important website development steps that you need to follow for creating a user-friendly website.
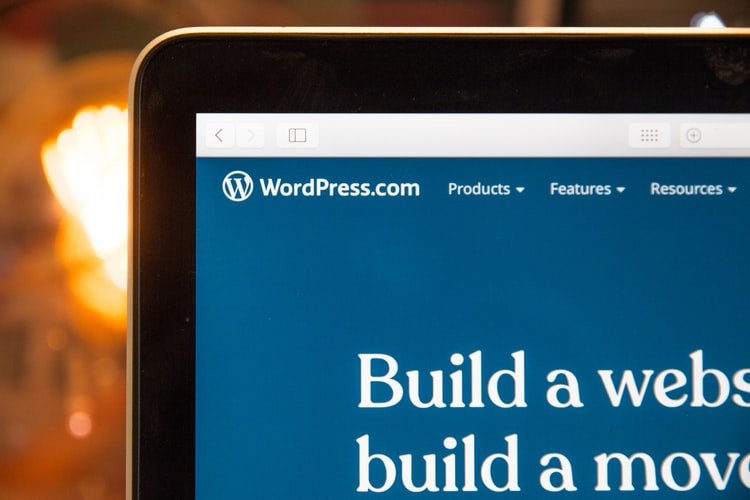
Your website is the face of your brand. People will visit your website while doing their research. It must be unique and perfect. People visiting your site should get the information they are searching for. Every website should have a good Content Management System (CMS). There are different platforms to choose from. WordPress is one such CMS which is great to use. WordPress is the most popular open-source content management system in this world. Studies have found that nearly 30 percent of the world’s websites are created on the WordPress platform. A web developer uses programming languages like CSS, HTML, and Javascript to create a website and make it function the way you want. What are the other things required in a web development process? Let us see.
Select a domain name/URL- One of the first and most important website development steps is to find a domain name or URL. The first step in creating a website is determining what name you want for your website, as before you create a blog/ site, the hosting company will ask you to choose the name of your URL or website. It is one of the most significant steps as you start to build concepts on your site everything you create will be linked to your sites domain name and your visitors will also know you by the domain name you select. Decide what your website will be about and try to select a domain name that is linked to that topic.
Registration of your domain name/ URL- Once you have chosen the domain name and have one which one is available there are a lot of registering services that will permit you to register your selected domain name. For the sake of fastening things up and to save some money, there are varieties of hosting services like Bluehost that you give you a free domain name with your hosting account, which can make the setting of your site simpler and save you a few dollars.

Select a hosting service- After choosing on your domain name and getting it registered, the next step is to find a hosting service that will host your site. While selecting a hosting service, make sure that the hosting service provides good speed and reliability. Also, ensure that it offers a lot of storage space.
Connect the domain name with web host- If you have selected a web host that provides a domain name with a hosting service then you can leave this step as most of the hosting services will make it simple for you to connect your domain name to your hosting service and will walk through the steps as you develop your website. If you have selected a registrar that is different from your web hosting services then, you must connect your domain name with your web host.
Install WordPress- After you have selected your domain name and created a hosting account, you must install software that will allow you to handle, customize and build your website as per your choice. Whether you want to create a blog or want to start an online business or develop an eCommerce website, WordPress is the best choice.
Test your website by typing your domain address- Another one in the list of important website development steps is to check your website by typing in the domain address. After installing Word Press, the next thing which you should do is test if everything is working properly or not. The easiest way to do is to type in your domain name in the web browser.
Validate SSL/HTTPS Settings- In short, an SSL certificate ensures that your website is delivered to your visitors steadily. Bluehost adds an SSL automatically when you develop a new website or install WordPress. To check the SSL status of your site, you must follow these steps:
- Log in to your Bluehost portal
- Then, click on “My Sites”
- Once you find your site and click on “Manage site”
- Click on the “Security” tab
- Under the “Security Certificate”, you will get your “Free SSL Certificate” status
If everything goes well, you will see a lock icon near your domain name in the web browser.
It may take some time before the SSL is completely set up, but that should not stop your website development process.
Configure your step- After you have selected your theme and as your website is live and running, the configuration of your website is one of the important website development steps. Set up your navigation in such a manner that your visitors can easily understand what your website is all about. Make sure you give your customers access to the most important parts of your website.
Add content- Once you reach this part, it signifies that you are almost done. Now, you need to add content to your website. Add relevant and informative content to your website and you are all set to go!
Add a Sidebar- You can decide how you want your sidebar to appear. Click on “Content/Sidebar” to start. You have mainly three options. These are no sidebar, left sidebar, and right sidebar. For most of the websites, the sidebar on the right is the classic layout. You can even fix the content width. After you are done with your changes, click on “Publish” and “X”.
Add Widgets- Widgets are those small blocks of content that generally appear in the sidebar of a website. Since we saw how to set a sidebar in the previous step, now is the time to customize it with widgets.
Set up a navigation menu- With a wide range of good-looking pages that you created, your next step is to set up your navigation. The menu is what your customers will use to navigate from one page to another on your website.
- Go to the “Appearance” Menu and click on “Create a New Menu”
- Add eCommerce/Online Store
The last thing we will do in this guide is to build ourselves an online store.
This is not something that all websites require, so you can skip this step if eCommerce is not your cup of tea.
How does WordPress eCommerce work?
As WordPress is a versatile website platform, it is no surprise that it can help you to build a fully functional eCommerce online store. By totally functional, we mean that you can list the end number of products, make them available for sale, and then collect orders from customers and handle all tax and shipping-related elements of the entire process.
All these things are done with a plugin known as Woo Commerce.
WooCommerce is one of the most functional and popular eCommerce solutions for WordPress.
Last but not the least, you must keep updating your website.